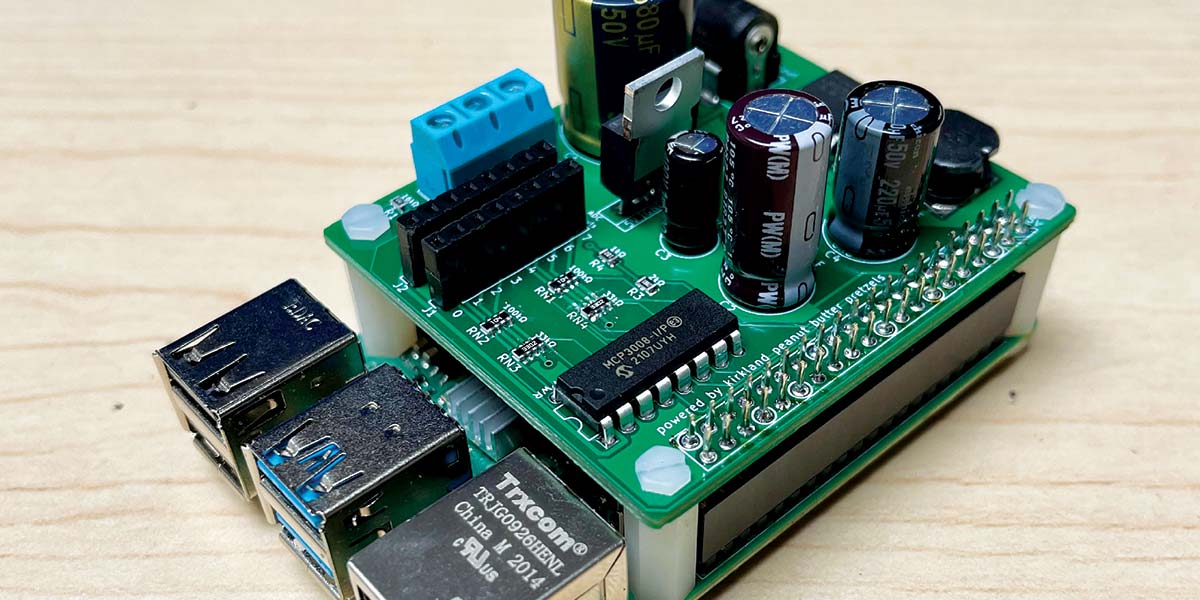
This article describes the process of designing and building a custom Raspberry Pi HAT circuit board. This HAT works with a Python script to record and live plot battery voltage, temperature, and capacity. The ability to log data over an extended period is an included useful feature.
Long exposure photography captures the path of light over time, smearing moving elements to produce a single photo which creates a new realm of artistic photography. However, popular subjects of light exposure photographs are uncontrollable (stars, car headlights, etc.), so we made a light painter using microcontrollers and a DotStar LED strip to develop custom photography from images uploaded by a user.
Work areas usually have multiple power strips ganged together and connected to the same outlet. Various devices are connected to these strips, including computers, lights, coffee pots, space heaters, etc. Environmentally conscious persons ask, “How much power does my work area consume?” Safety conscious persons ask, “Am I overloading my circuit?” Calculating the answers requires two basic measurements: the voltage supplied to the circuit, and the amperage consumed by the circuit. Measuring AC voltage and, particularly, amperage with a multimeter is a potentially dangerous diagnostic for laypersons.
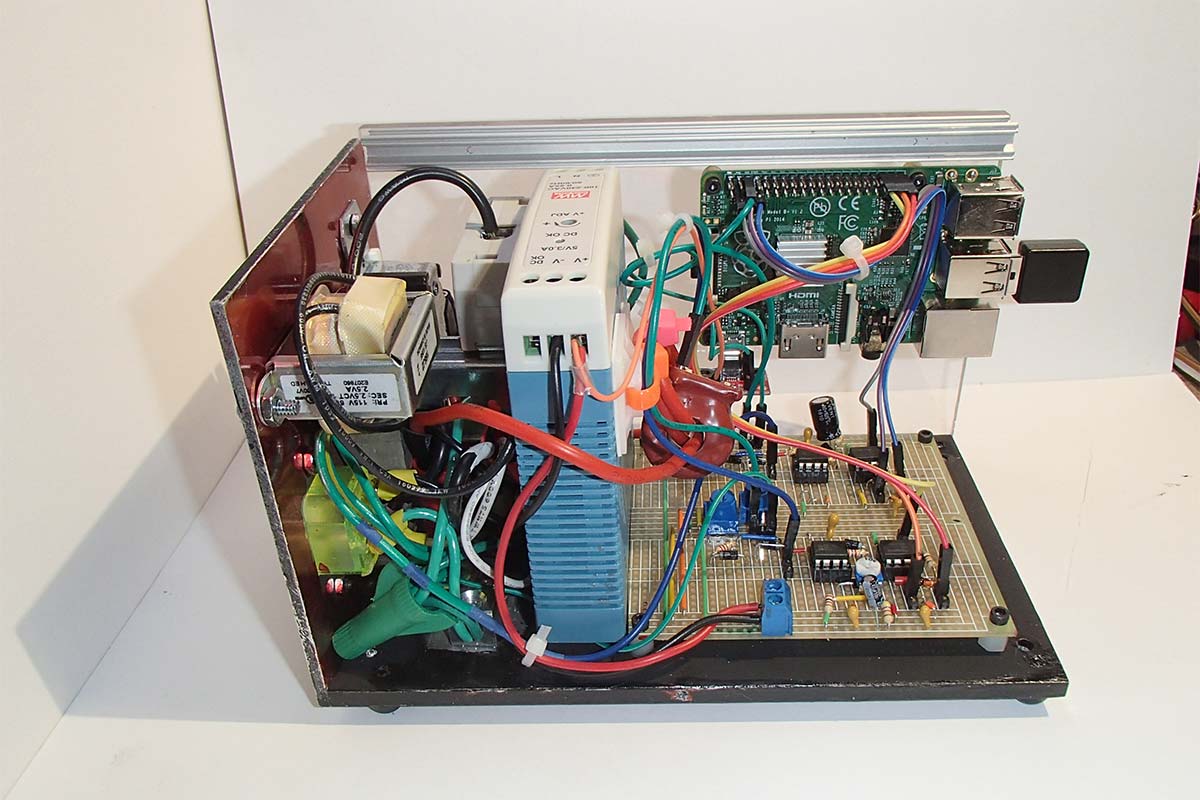
Wouldn’t it be nice to have a self-contained volt/amp meter that displays the values on a webpage?
Want to “paint with light?” This article explains in detail how you can build a low cost (<$100) microprocessor-controlled LED light saber that provides as much or more capabilities than professional light wands.
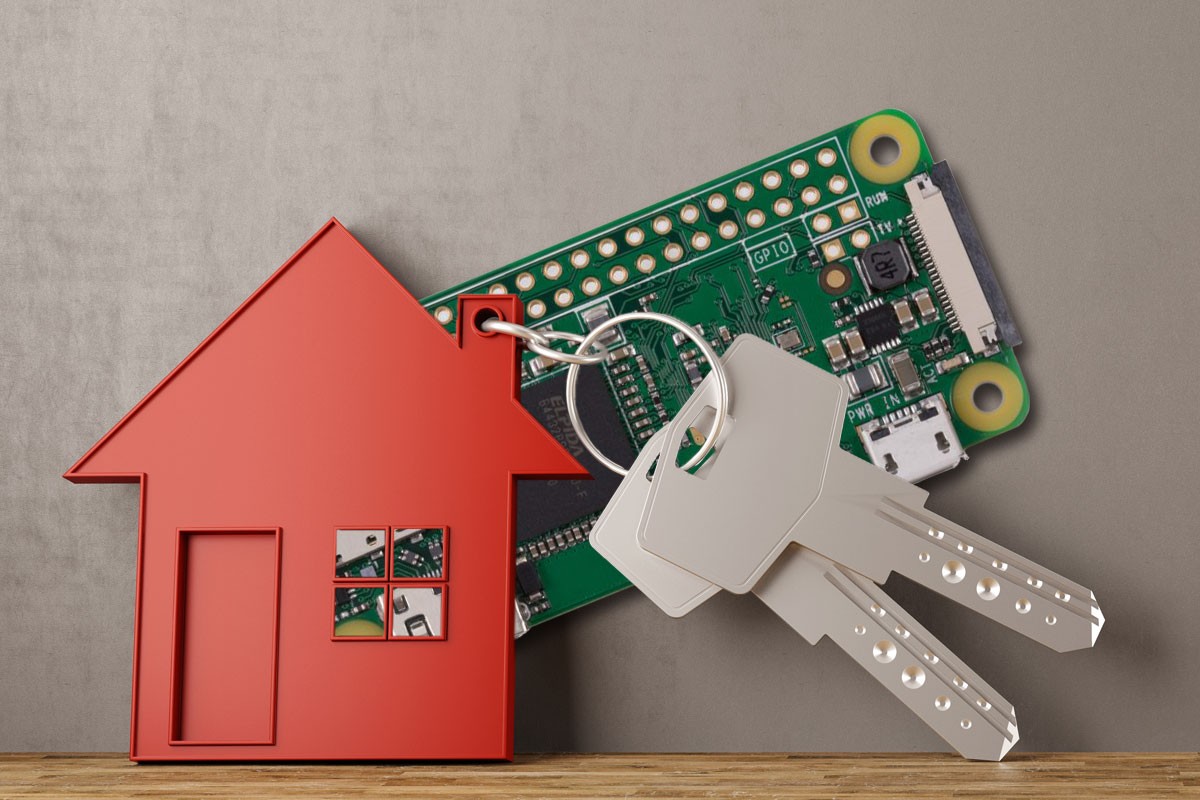
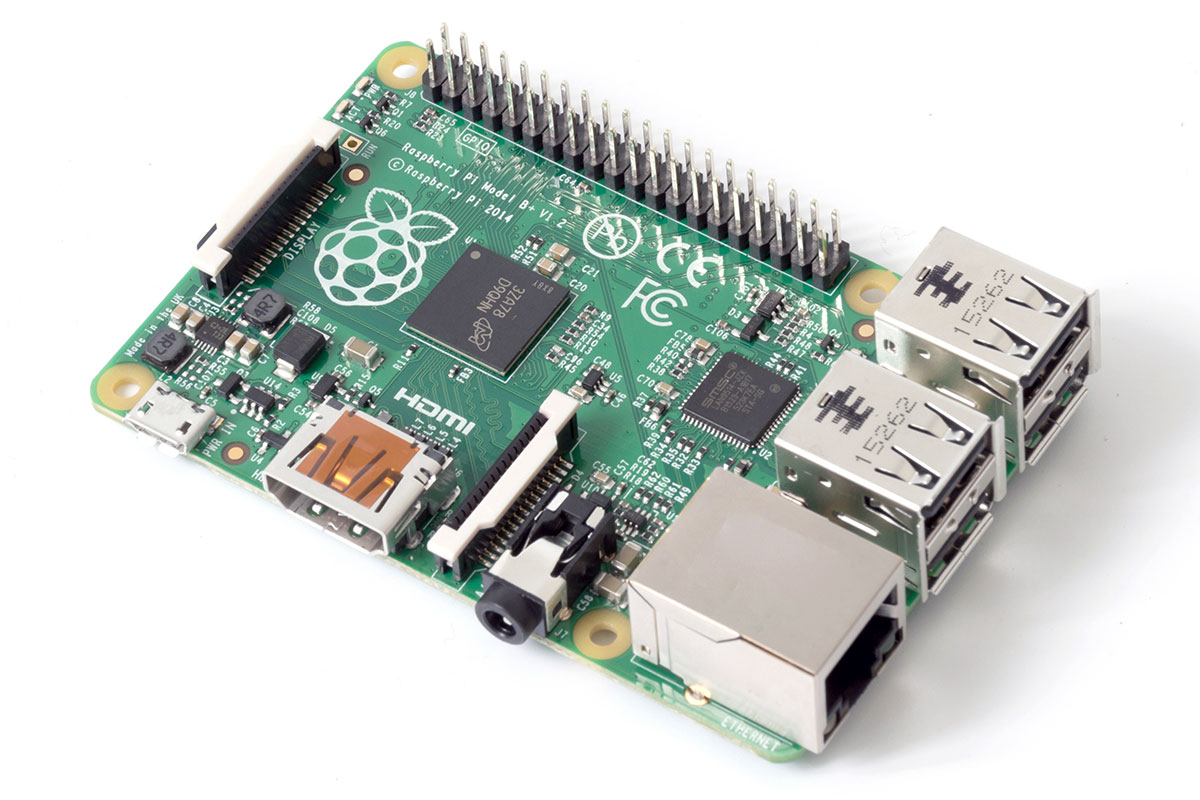
Surveillance is one of the most effective deterrents against crimes lke burglary and theft. The Raspberry Pi can be the foundation of a great DIY home security system.
Whether you’re building your own electronic drum kit or measuring distance with a 3D scanner, a HAT can give your Raspberry Pi exactly the functionality you need.
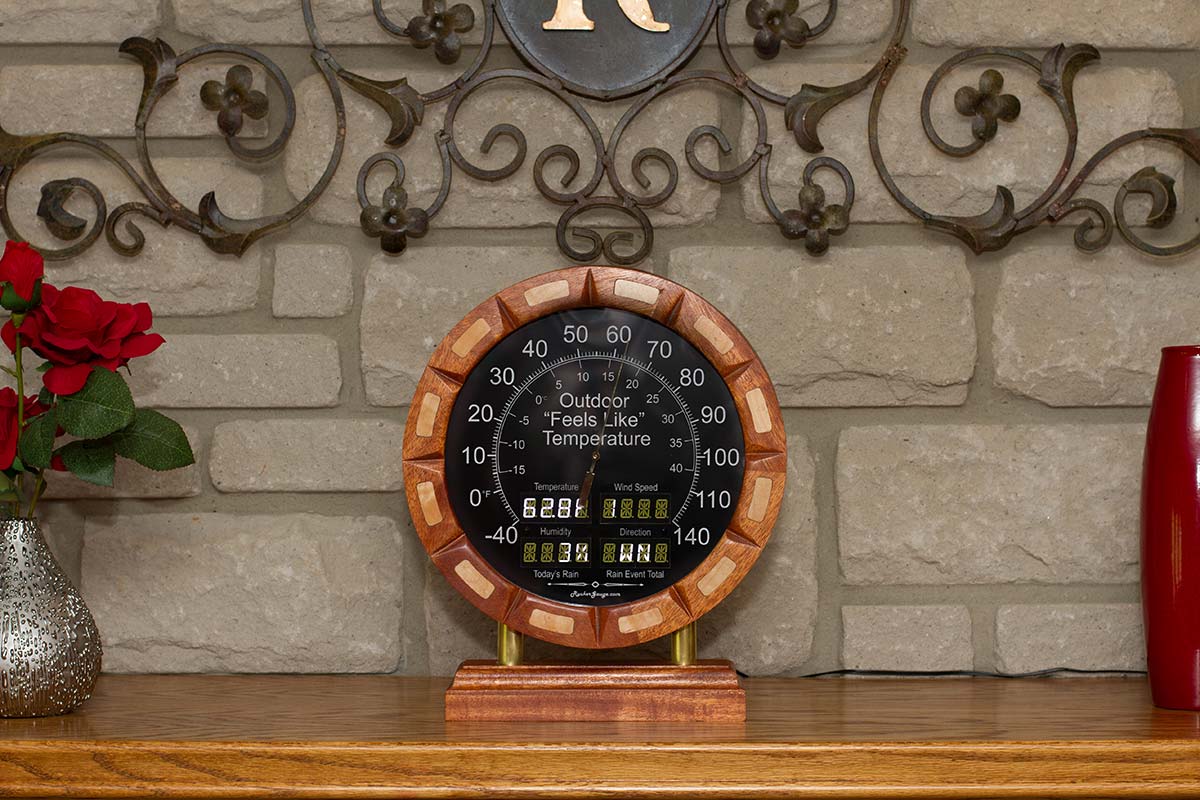
This fun, elegant, and useful project pulls data from the Internet so a series of useful displays can show all kinds of cool info in real time from your mantel or bookshelf in this impressive platform.
In our previous article, we discussed the circuit and code for each of the core components for our Weather Gauge. We took a deep dive on how the stepper is wired up and the node.js code that drives it. Now, it’s time to put it all together and light it up in this final installment.