One educational trend in the US and globally is an increased emphasis on Science, Technology, Engineering, and Mathematics. STEM education aims to expose children and young adults to the world of technology with the hope they will become the next generation of much needed scientists, engineers, and mathematicians. As with all educational initiatives, the success rates are greatly amplified with the addition of an at-home educational component. As a reader of this magazine, you are likely qualified to take on this role, helping expose youth to the many exciting aspects of STEM. This project gives one example of how you might contribute.
This is a great device for those who need to know when an Amazon package or a friend/relative has arrived at the front door.
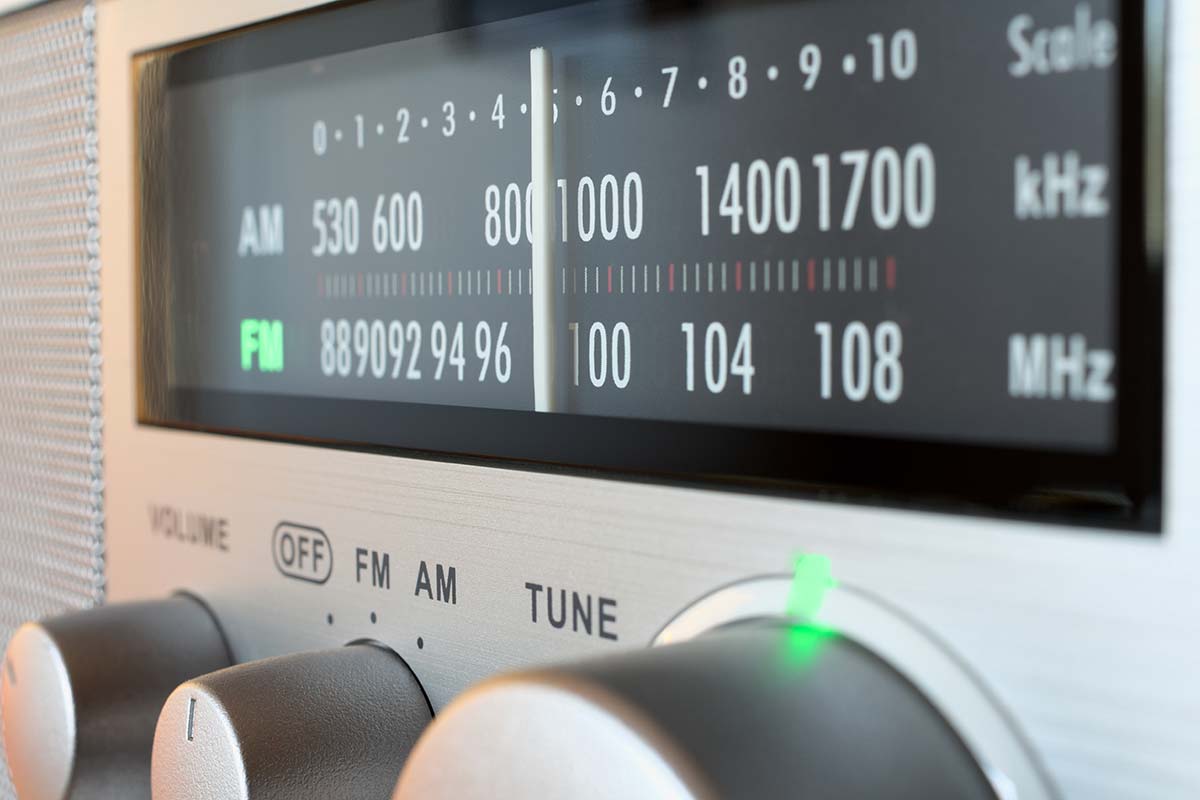
The complexity and sophistication of the electronic hardware required to recover composite baseband signals in the FM band is beyond the capability of most experimenters. However, modern digital signal processing software, capable PCs, and inexpensive software defined radio (SDR) hardware can now be easily combined to receive the information in these broadcasts. Learn how to combine this hardware, software, and your PC to build SDRs to receive FM radio broadcasts and more.
With the influx of electric skateboards and scooters that have taken over seemingly every city, I started thinking it might be something to purchase for myself. Instead, I decided that I would try to build my own from scratch. Not really to save money, but to gain the experience of building something of my own. The primary purpose of this article is to show my design and manufacturing process, so that you can learn from what I built.
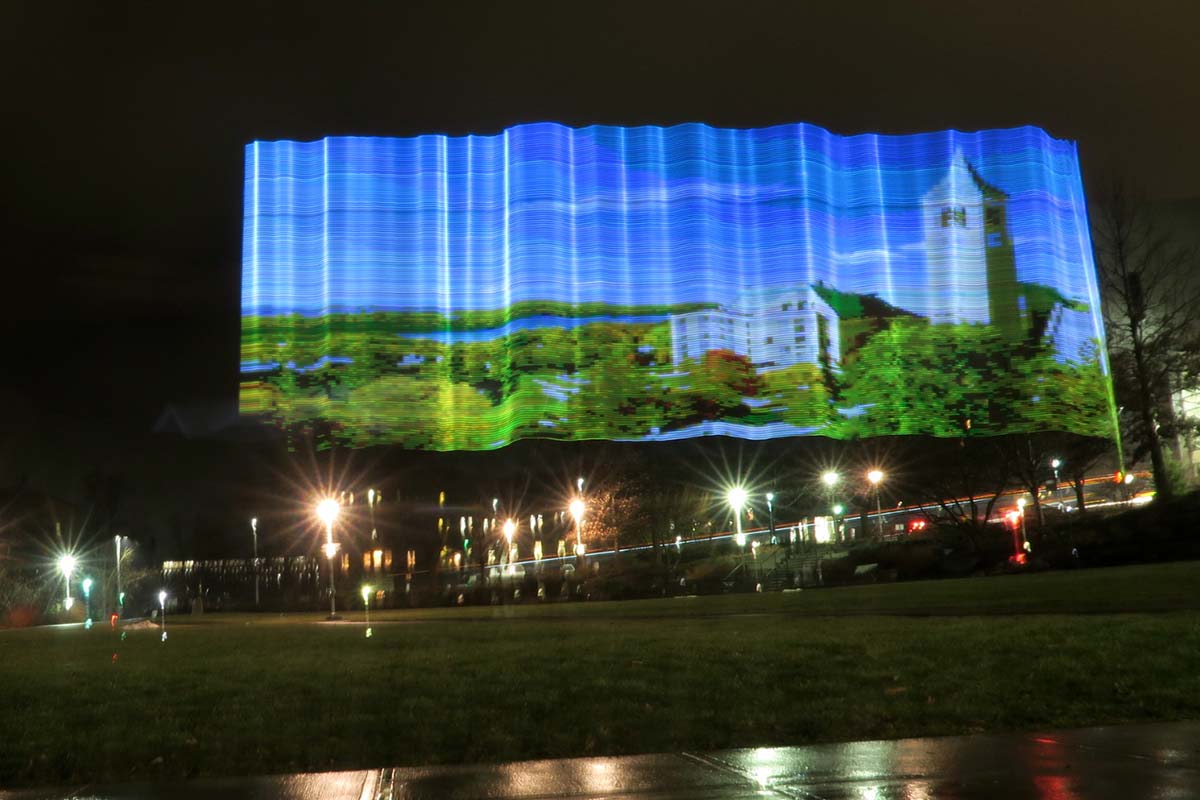
Long exposure photography captures the path of light over time, smearing moving elements to produce a single photo which creates a new realm of artistic photography. However, popular subjects of light exposure photographs are uncontrollable (stars, car headlights, etc.), so we made a light painter using microcontrollers and a DotStar LED strip to develop custom photography from images uploaded by a user.
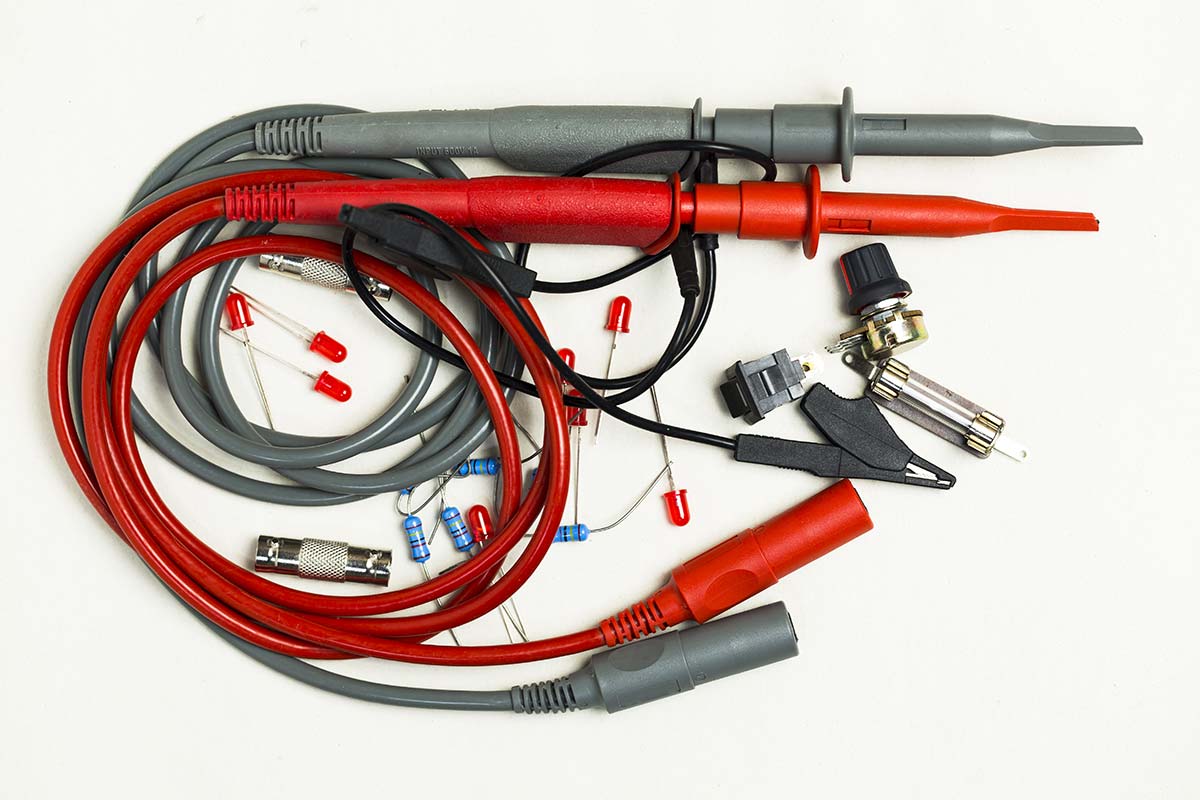
Now that I’ve retired, I’ve started experimenting with some of the analog subjects that I haven’t done much with since school back in the seventies. To begin with, I started with op-amp circuits; specifically, Colpitts oscillators. I built the circuit on one of those plug-in ‘protoboards,’ a ±15V power supply, an oscilloscope, and a multimeter. For my experimentation, I was using a trim pot. I would adjust until oscillation began, then power down, pull one end of the trim pot, measure the resistance, then re-connect, power up again, and continue adjusting until I reached the other end of the resistance range, where the oscillation would cease. I would then repeat the resistance measurement. That procedure was not ideal. In addition to the multiple tedious steps, adjusting a trim pot can be a pain. Enter my potentiometer box.
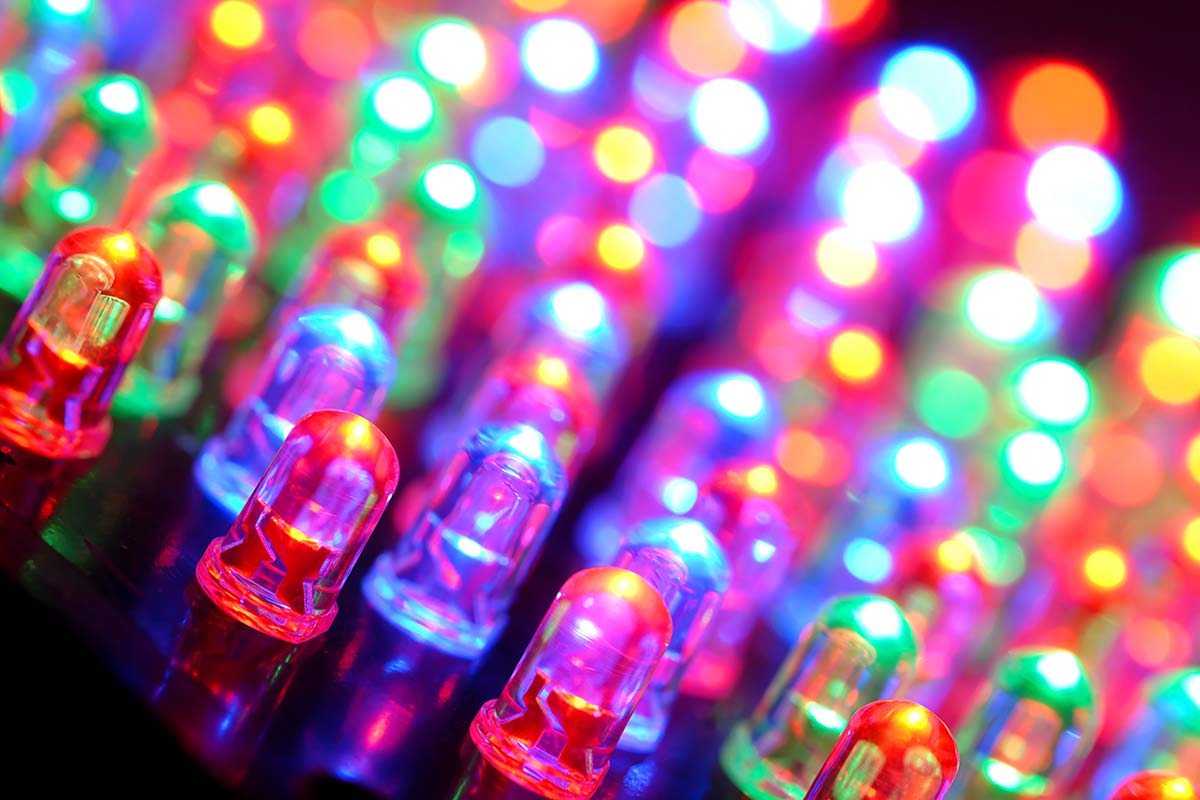
Most LED projects involve some wiring, some resistors, a solderless breadboard, and a bunch of jumper wires. Not this one! You can create bright, stunning colors by literally just plugging LEDs directly into the Arduino pins. No wiring, no resistors. Just your Arduino and a handful of LEDs. The is the absolute simplest and lowest cost way to get started manipulating light and color. I’ll show you how to do it safely in this article.
As a final class project for our “Digital Systems Design Using Microcontrollers” course we all took last semester at Cornell University, we created a very unique device. We wanted to design something fun, aesthetically pleasing, and interactive, and since we all enjoy listening to music, we decided on a music visualizer. Our vision was to create a unit that listens to music being played, then in real time displays a dynamic and colorful visual representation of the music based on the volume and pitch of the notes. Additionally, our music visualizer provides an alternate avenue for experiencing music for the hearing impaired. Here’s how we did it, so you can make one too!
One hobby that’s prevalent today is restoring antique radios. Once you have an antique radio, it’s nice to listen to it. Unfortunately, the content of present day AM radio stations leaves a lot to be desired. There’s nothing comparable to the type of programming that was on the air in the heyday of radio broadcasting. The solution to this dilemma is to use a low power crystal-controlled AM transmitter to broadcast age-appropriate material to the antique radio. Such an AM transmitter is the subject of this article.
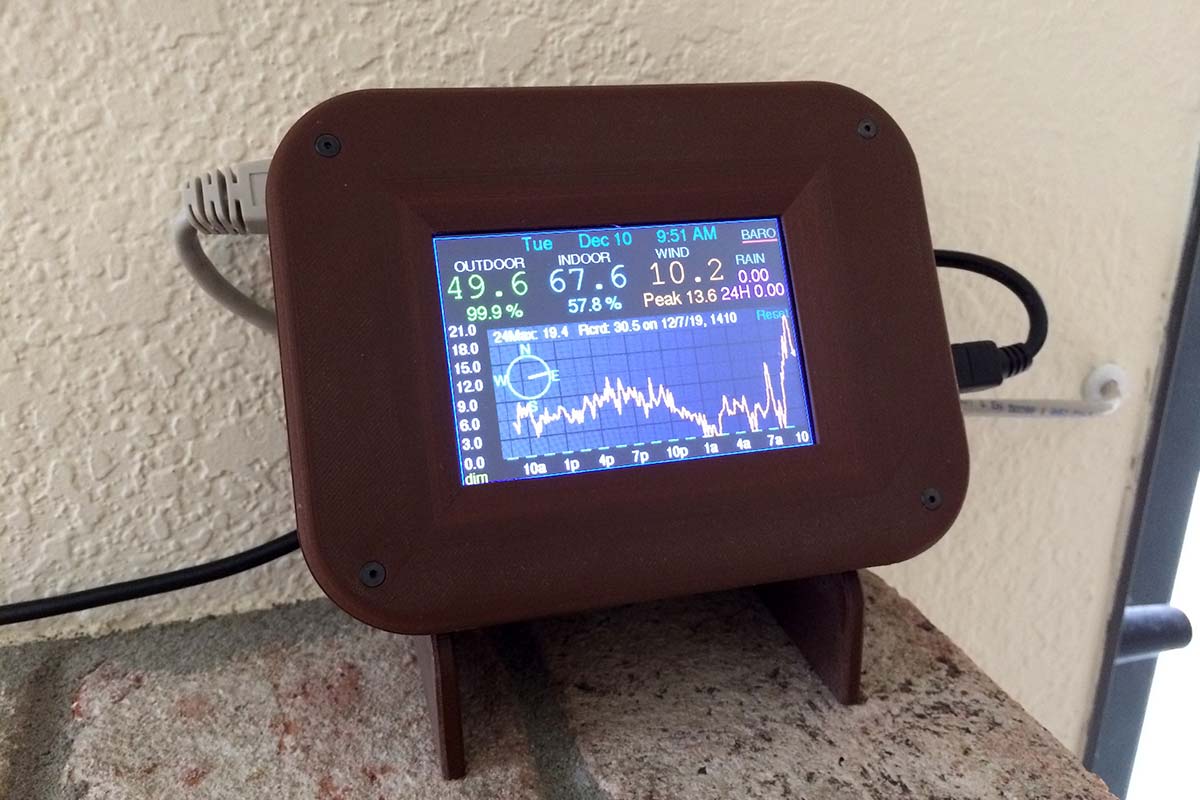
If you care about the weather and enjoy creating graphs that give all kinds of details, then you’ll really enjoy this sequel to the original graphing thermometer presented in Issue-2 2019. Features include outdoor and indoor temperature, outdoor and indoor humidity, wind speed, wind direction, rainfall, and barometric pressure.