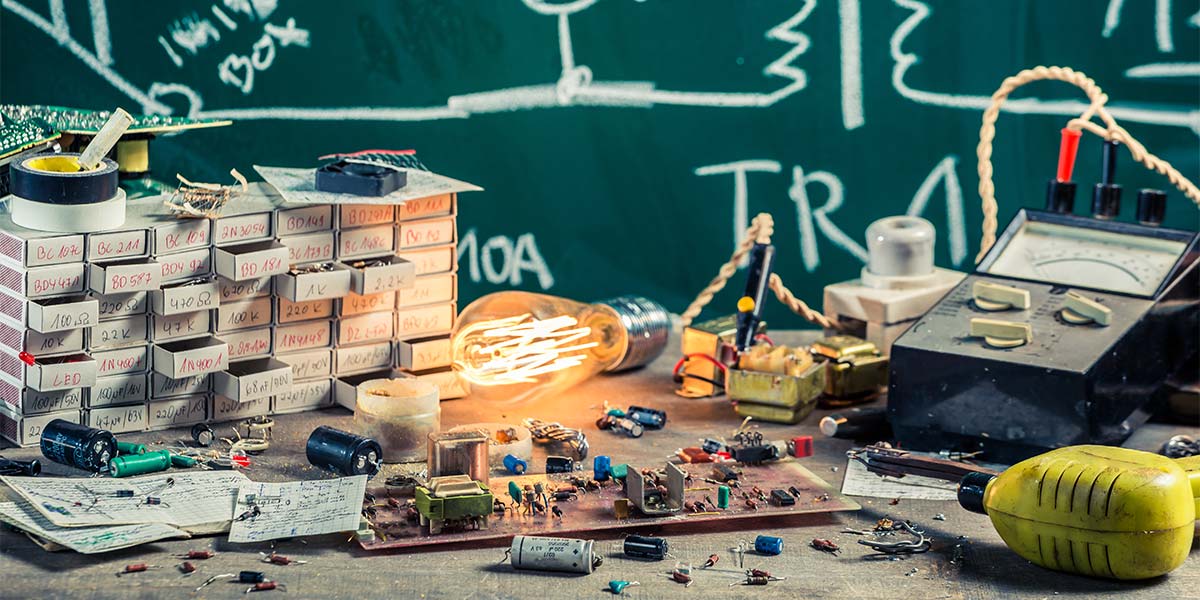
Whether your focus is drones, audio, or RF communications, the workbench is where electronics happen. It’s where the soldering iron meets the circuit board, and where your diagnostic skills come into play. Assuming you’re lucky enough to have a dedicated workbench, then the project you currently have on it says a lot about your commitment to electronics. My workbench has evolved over the years, reflecting my focus in electronics.
Early on, my workbench was focused on ham radio. Next to my Heathkit DMM, I had an analog oscilloscope, a high voltage power supply for tube projects, and a variac transformer. A 40W Weller soldering iron was sufficient for most of my soldering needs. I also had a Q-meter for testing antenna resonance and other resonant circuits.
My most prized possession was a digital frequency counter, also from Heathkit. The most expensive piece of equipment on my workbench was a Bird Thruline RF wattmeter, with a collection of HF and VHF wattmeter elements.
As I became interested in HiFi audio, the oscilloscope took center stage. I added an audio/RF signal generator to test the bandwidth and fidelity of the circuits. I also set the Heathkit DMM aside in favor of a Simpson 260 analog multimeter, which made it much easier to read dynamic audio signals.
A set of old bookshelf speakers proved to be the best way to test audio amplifier output. I put the high voltage power supply on a shelf and replaced it with a high-current 12 VDC supply.
When I took a deep dive into microcontrollers, I put my old analog scope to rest and replaced it with a two-channel digital model from Tektronix. A Fluke tabletop DMM replaced the Simpson 260. I added a variable current/voltage power supply with separate readouts for current and voltage. I also replaced the soldering iron with a variable temperature Weller soldering iron station and a Weller hot air station to work with SMD components.
During my current robotics phase, I installed a 6” vise for bending aluminum and for holding robot frames in place. I also purchased a Proxxon milling machine, which proved useful but messy.
I eventually replaced the milling machine with a 3D printer from MakerBot, which saved me from constantly vacuuming aluminum and plastic from my shop floor. I also added an ESC (electronic speed control) tester, a motor tester, and a lithium-ion battery charging station.
How has your bench evolved to keep up with your needs and what’s the next upgrade you see in the near future? What’s your current workbench setup? What’s on your ideal workbench? NV

